
greenssh.net – SSH over SSL might sound like alphabet soup, but it is actually one of the smartest ways to get a secure, fast, and nearly unblockable internet connection. If standard SSH gets blocked on your network, wrapping it in SSL is usually the fix that makes everything work again.
Free premium SSH SSL accounts are available with 3-day access, and they deliver surprisingly solid performance for something that costs absolutely nothing.
What Is SSH SSL and How Is It Different?
Standard SSH connects on port 22 using its own protocol. It is secure and fast, but the problem is obvious — port 22 is one of the first things network administrators block.
SSH SSL takes your regular SSH connection and wraps it inside an SSL/TLS layer. From the outside, it looks exactly like HTTPS web traffic on port 443. Your network sees what appears to be someone browsing a secure website — not tunneling through SSH.
This double encryption (SSH inside SSL) means your data is protected twice over, and the connection is extremely difficult to identify or block through deep packet inspection.
Why SSH SSL Is So Effective Against Network Restrictions
Here is the thing about port 443 and SSL traffic — blocking it would break every secure website on the internet. No bank website, no email login, no social media, no online shopping. No network administrator in their right mind blocks port 443.
SSH SSL exploits this fundamental reality. By disguising your tunnel as standard web encryption, you become invisible in the ocean of legitimate HTTPS traffic flowing through the network.
Even advanced DPI (Deep Packet Inspection) systems struggle with SSH SSL because the TLS handshake and encrypted payload look identical to regular web browsing. There is no unique fingerprint to detect.
Benefits of Premium SSH SSL Accounts
Free premium accounts typically offer:
Dedicated server resources. Premium tiers usually mean fewer users per server, which translates directly to better speeds and more consistent performance.
Multiple server locations. You get access to servers in various countries, letting you choose optimal routing for your needs.
Full encryption stack. SSH encryption inside TLS encryption gives you military-grade protection against any form of traffic snooping.
Stable uptime. Premium servers are maintained more carefully than basic free servers, with better hardware and monitoring.
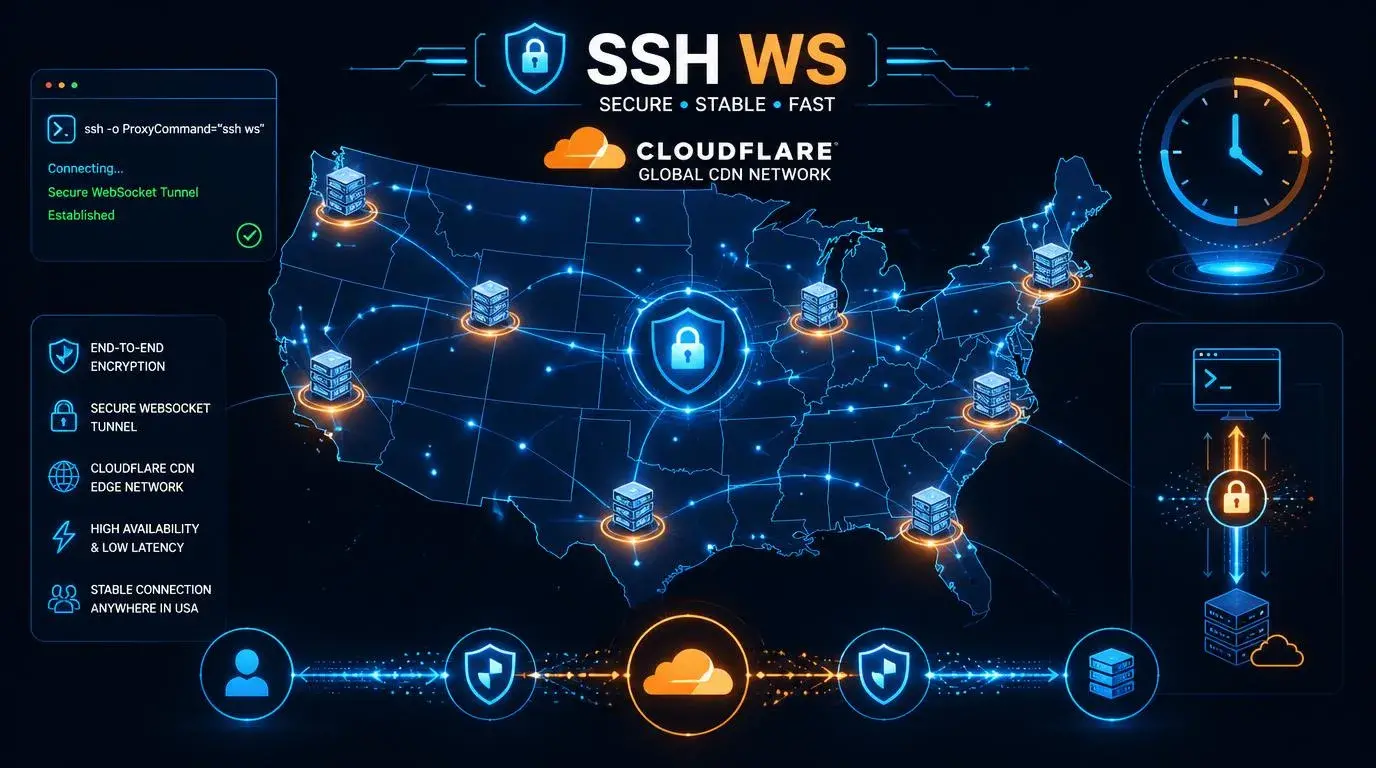
Compatible with CDN routing. Many SSH SSL servers support Cloudflare and other CDN routing for additional speed benefits.
How to Get Your Free 3-Day SSH SSL Account
Step 1: Choose a provider that specifically lists SSH SSL or Stunnel servers. Not all SSH providers support SSL wrapping.
Step 2: Select server location. Consider both proximity (for speed) and purpose (for content access).
Step 3: Create account. Enter your desired username and password. Account activates immediately.
Step 4: Note the connection details. You will need: SSL/TLS host, SSL port (usually 443), SSH port (usually 22 or a custom port behind SSL), username, and password.
Step 5: Configure Stunnel or your tunnel app. The key difference from regular SSH is that you need an SSL wrapper (Stunnel) that connects to the SSL port first, then your SSH client connects through that wrapper.
Setting Up SSH SSL on Mobile (Android)
On Android, apps like HTTP Injector and HTTP Custom handle SSH SSL natively:
1. Open the app and go to SSH settings.
2. Enter the server host and SSH port.
3. Enter your username and password.
4. Enable SSL/TLS mode.
5. Set the SSL port (usually 443).
6. Enter SNI host if using CDN routing.
7. Connect.
The app handles the Stunnel wrapping automatically — you do not need to install anything extra.
Setting Up SSH SSL on Desktop
For Windows or Linux, the setup requires two components:
Stunnel creates the SSL connection to the server. Configure it with the server address and SSL port.
Bitvise SSH Client or PuTTY connects to Stunnel local port (usually 127.0.0.1:1194 or similar) as if it were the SSH server.
The flow: Your SSH client → Stunnel (encrypts in SSL) → Network → Server (decrypts SSL) → SSH server processes your request.
Speed Optimization for SSH SSL
Server proximity is king. Every extra thousand kilometers adds 5-15ms of latency. Choose the closest server that meets your needs.
Test during different times. Free servers have usage patterns. Find the quiet hours for your chosen server.
Use TLS 1.3 if supported. It has a faster handshake than TLS 1.2, reducing initial connection time.
Disable unnecessary encryption layers in the SSH config. Since SSL already provides transport encryption, you can use lighter SSH ciphers for better speed without sacrificing real-world security.
Keep connections alive. SSH SSL connections have more overhead to establish. Use keepalive settings to maintain your connection instead of reconnecting frequently.
SSH SSL vs Other Methods
vs Regular SSH: SSH SSL wins on stealth and compatibility. Regular SSH wins on raw speed (one less encryption layer).
vs SSH WebSocket: Similar stealth levels. WebSocket benefits more from CDN routing, while SSL is simpler to configure.
vs VPN (OpenVPN, WireGuard): SSH SSL is harder to detect. VPNs are easier to use but more recognizable to DPI.
vs SlowDNS: SSH SSL is dramatically faster. Only use SlowDNS when SSL connections are also blocked (very rare).
Common Problems and Solutions
SSL handshake failed: Usually means the SSL port or SNI is incorrect. Verify your settings match exactly what the provider specified.
Connected to SSL but SSH authentication fails: Your SSH credentials might be expired or wrong. The SSL layer connects fine, but the SSH layer behind it rejects you.
Extremely slow despite good settings: The server might be overloaded. Try a different server or time.
Connection drops after exactly 2 minutes: Some networks have timeout settings for idle HTTPS connections. Enable SSH keepalive (send null packets every 30 seconds).
Security Assessment
SSH SSL provides excellent security for general use:
- Double encryption (SSH + TLS) protects data integrity and confidentiality
- Port 443 usage makes traffic indistinguishable from normal browsing
- Certificate verification prevents man-in-the-middle attacks at the TLS layer
For most users, this level of security exceeds what they actually need. It is more than adequate for everyday browsing, social media, and general privacy protection.
Wrapping Up
Free SSH SSL accounts offer premium-grade tunneling capabilities without any cost. The 3-day rotation keeps servers fresh, the double encryption keeps your data safe, and the SSL disguise keeps your tunnel alive on even the most restrictive networks.
If regular SSH is getting blocked and you want something more resilient, SSH SSL should be your next move. It takes slightly more setup than basic SSH, but the reliability improvement is absolutely worth the extra two minutes of configuration.
Frequently Asked Questions
Is SSH SSL the same as SSH over TLS?
Yes, they refer to the same technology. SSL is the older term, TLS is the current standard, but in the tunneling community both terms are used interchangeably.
Do I need a separate Stunnel app?
On mobile (HTTP Injector, HTTP Custom), no — SSL mode is built in. On desktop, you need Stunnel or a similar SSL wrapper.
Can my ISP see that I am using SSH SSL?
They can see encrypted traffic going to port 443 — which looks identical to normal HTTPS browsing. They cannot determine it is SSH inside.
Why does my account only last 3 days?
Short account lifespans prevent abuse, reduce server load, and ensure resources remain available for all users. Creating a new account is fast.
Can I use SSH SSL for torrenting?
Technically possible, but not recommended on free shared servers. It consumes excessive bandwidth that affects other users.